How It Works
The complete workflow — from entering a deed description to standing on a boundary corner with sub-meter accuracy. Five steps, each covered in detail in the pages linked below.
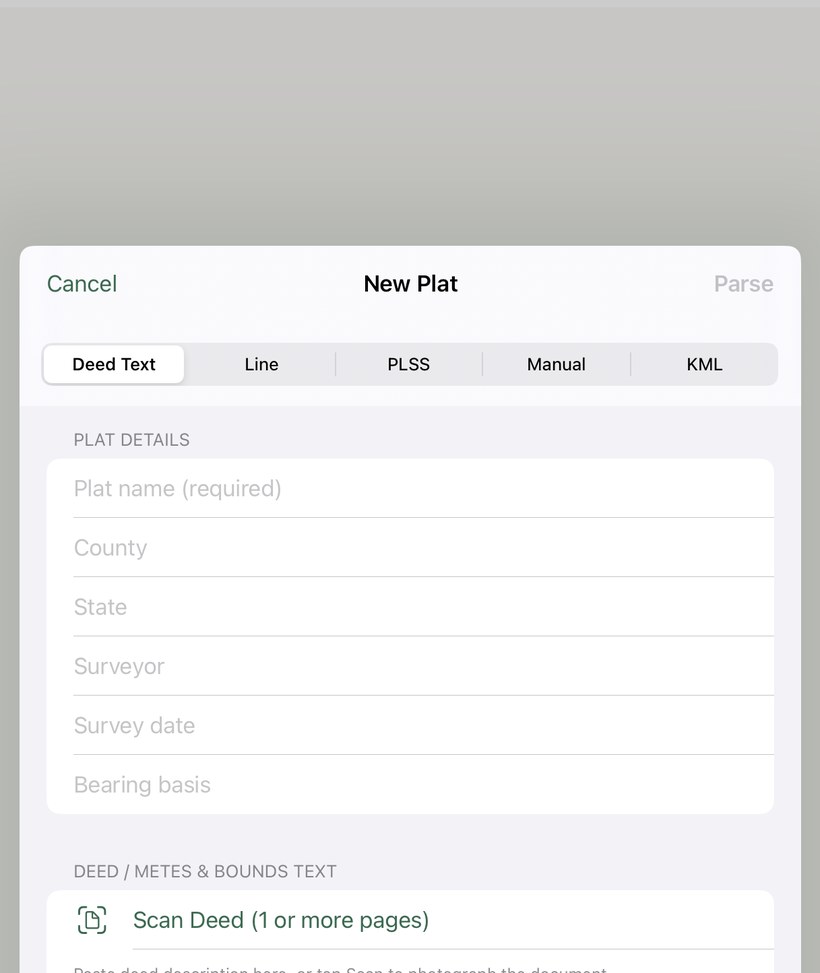
Create a new plat and choose how to get your boundary description into the app. The most common method is pasting a metes-and-bounds deed description directly — but if you have a printed deed, the camera scanner will read it for you.
If your property was surveyed under the Public Land Survey System (PLSS), you can look up the section by township, range, and section number instead of needing deed text at all. For known GPS coordinates from a surveyor's CAD file or GIS export, manual coordinate entry works with any location on Earth.
Tap Parse Deed Text and the app reads each "thence" call, converts units to feet, and builds a leg list showing bearing, azimuth, and distance for every boundary segment. Review this list carefully before heading to the field.
At the bottom of the leg list, the app shows a closure error — how far the traverse misses the Point of Beginning when the math is worked out. Under 2 feet is excellent. If the closure is large, check the source text for missing legs, misread numbers, or chains accidentally treated as feet.
You can tap any leg to correct a bearing or distance directly in the app — useful when you know a deed has a typo and want to try a corrected value before going to the field.
Full Deed Text walkthrough →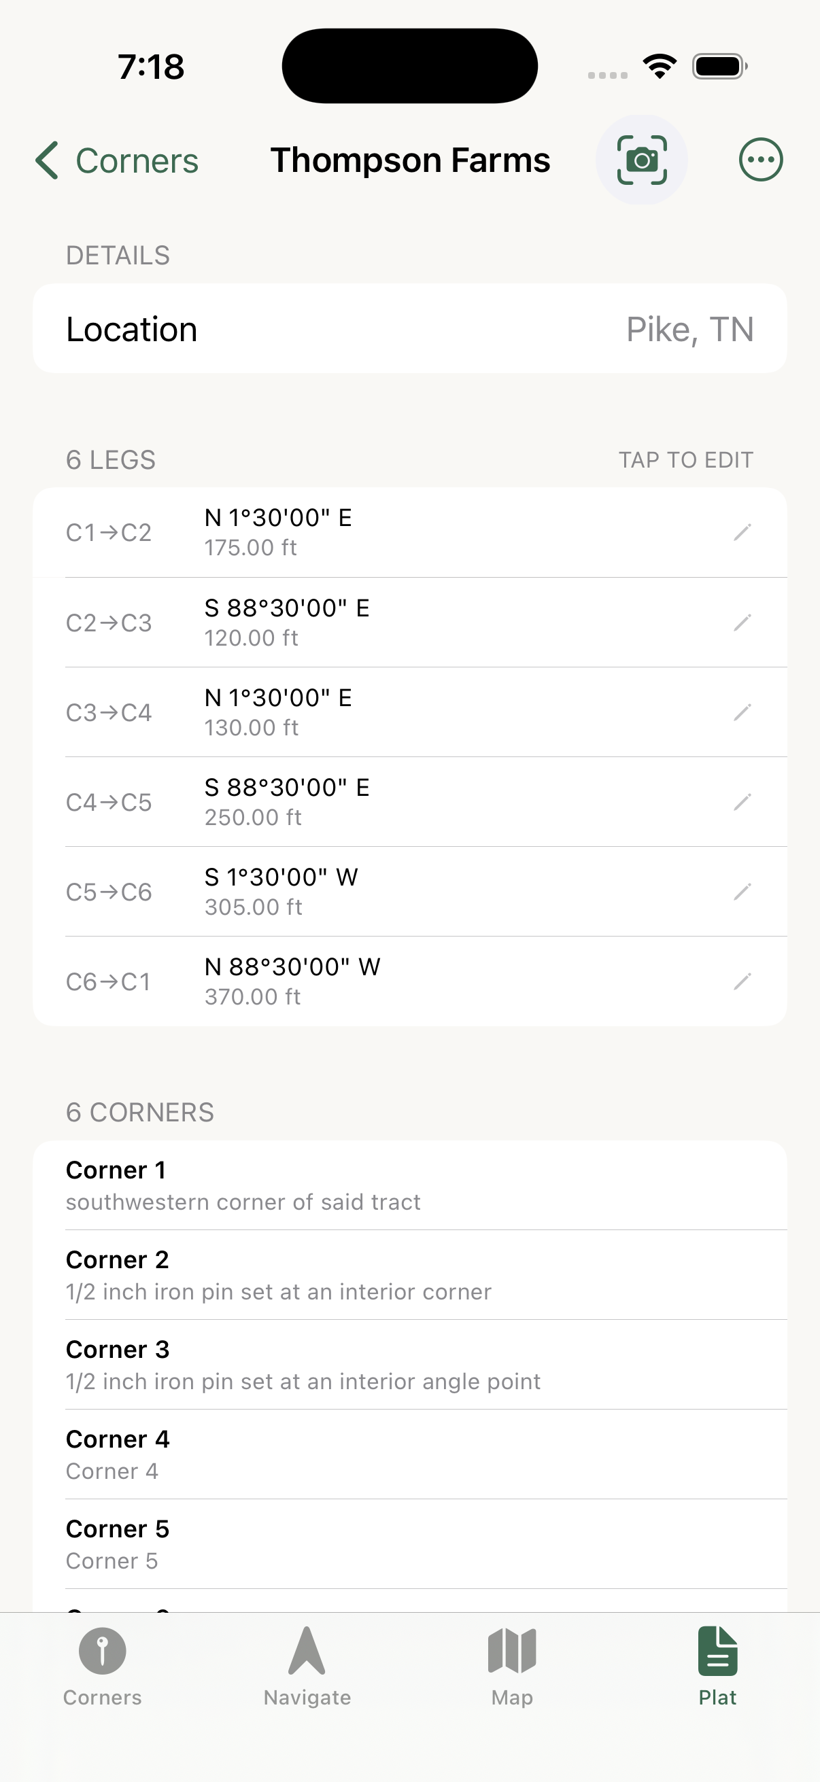
The parsed boundary is a floating geometric shape until you tie it to a real GPS position. Walk to your Point of Beginning — the monument described in the deed — open the Corners tab, tap Corner 1, and choose Set as Reference.
The moment you set the anchor, the full boundary snaps onto the map and all remaining corner coordinates are computed. The accuracy of every other corner is directly tied to how accurately you set this first one.
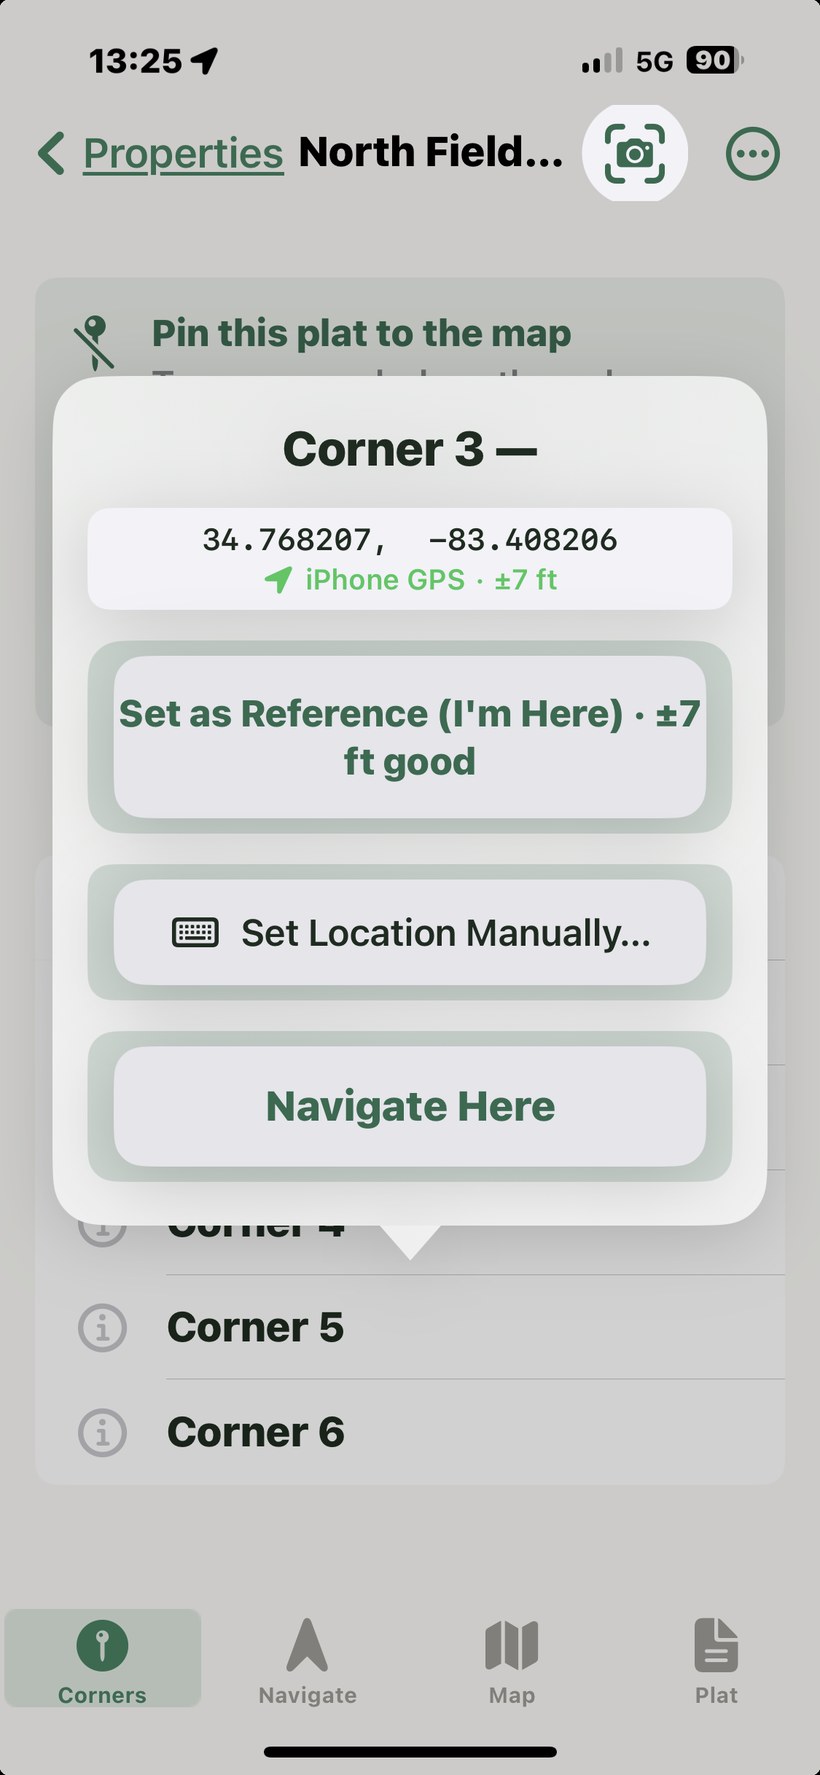
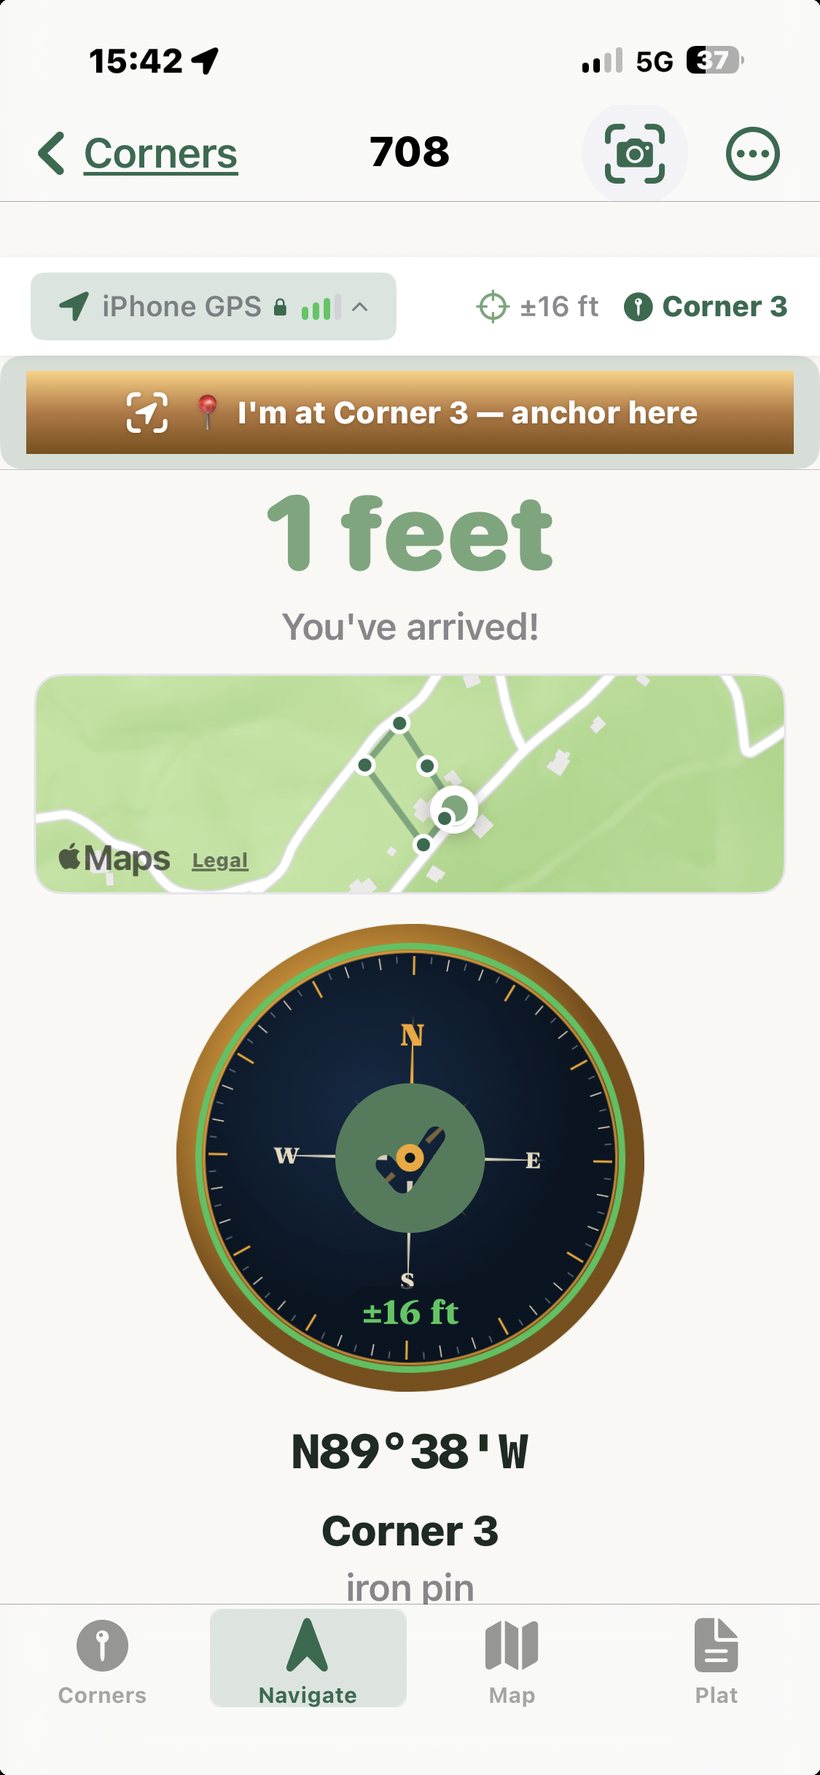
Tap any corner in the list and choose Navigate. The navigation screen shows a live bearing arrow and distance — both update continuously as you move. Walk in the direction the arrow points; when the distance drops to zero, you're there.
The bearing arrow uses an exponential filter that adapts to distance — snappy and responsive when you're far away, heavily smoothed up close where GPS bearing becomes noisy. When you arrive within a few feet, the display switches to a checkmark and "You've arrived."
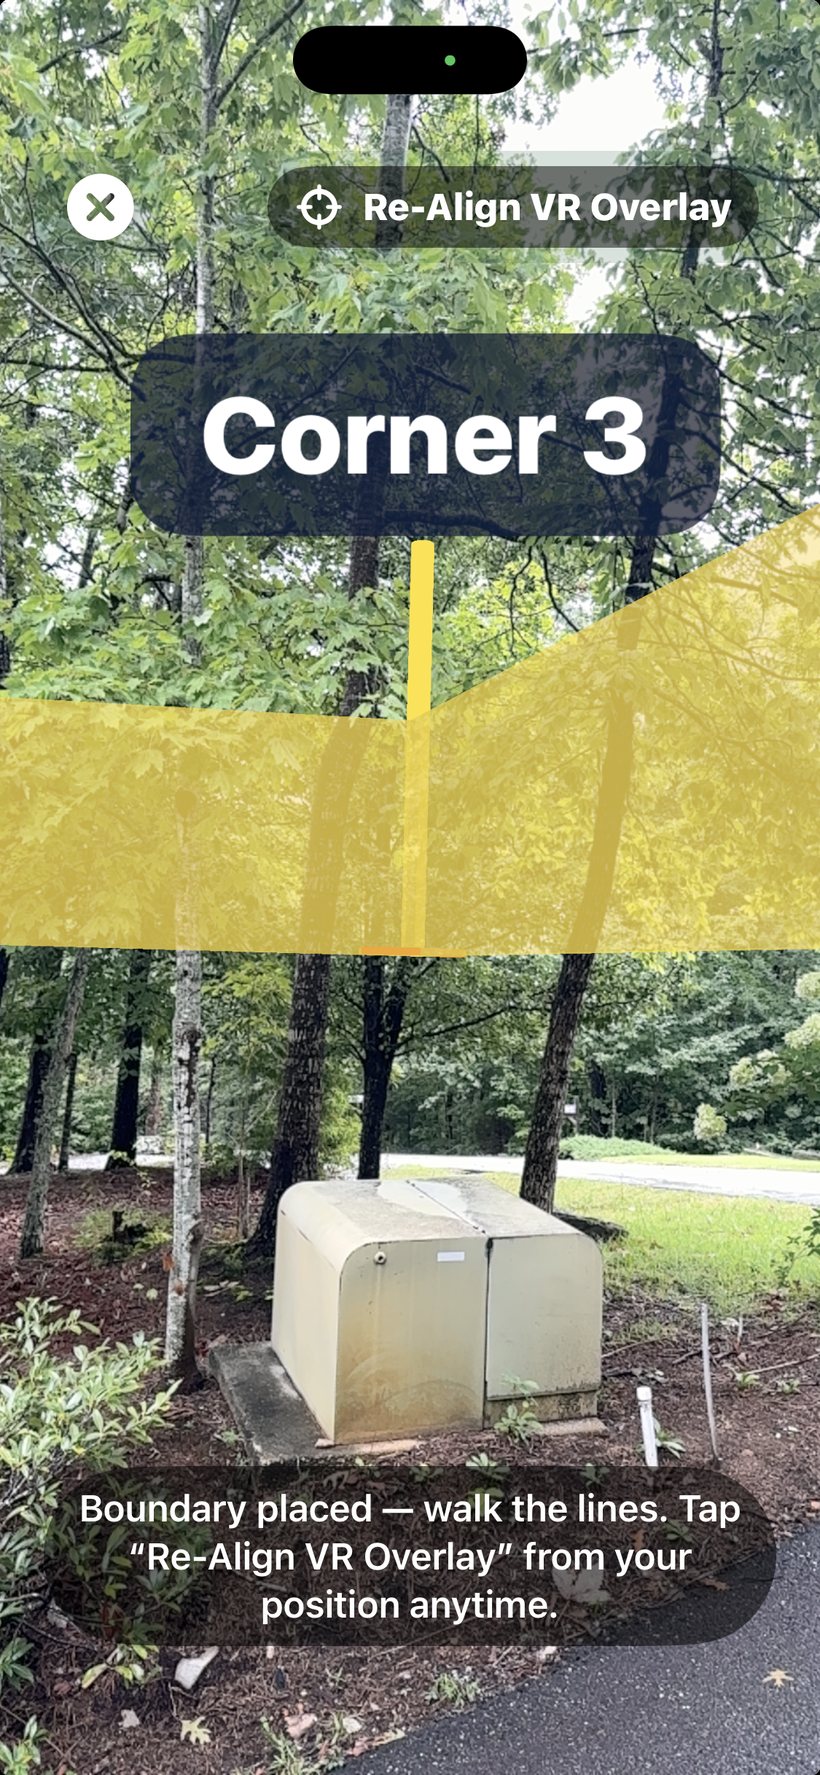
Tap the AR button in the plat toolbar. The camera opens and the app anchors your boundary to the real ground using ARKit — an amber fence line runs wherever the boundary falls, with a copper survey stake and name flag at each corner and the leg distance labeled along each segment.
Walk anywhere on the property and the stakes and fence hold their position, pinned to the terrain as you rotate and move — no compass swimming. This is especially useful for visualizing which side of a fence or tree line the actual boundary falls on. If the overlay looks shifted after walking a while, tap Re-Align AR Overlay to re-seat it at your current position.